There are two ways to set up Google Analytics 4 – using Google Tag Manager and updating configuration settings with Setup Assistant.
New users should go with the Google Tag Manager method. Meanwhile, existing users should migrate their Universal Analytics properties with the latter as they already have it installed.
Method 1. Set Up GA 4 With Google Tag Manager
In this part, we will cover the steps to installing Google Analytics 4 with Google Tag Manager. As this method is intended for new users, let’s start with downloading Google Analytics 4.
- Visit the Google Analytics homepage and click Get started today. Then, follow the instructions to log in with your Google account.
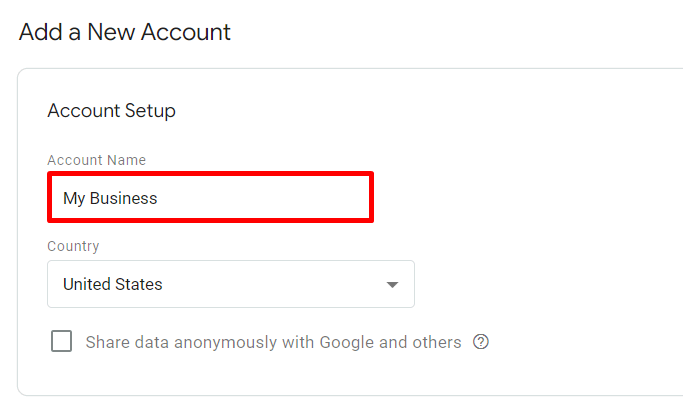
- Fill in the details in the Account Setup with an account name you will use as your profile. For example, your company name.
- Under the Account details, you will see the Account Data Sharing Settings to configure your account data sharing with other Google products and services. Simply enable or disable data share functions by ticking the options.
- Click Next to continue the setup.
- In Property Setup, create a property to measure your data. In this example, we will set up a website property. Once you’ve finished setting up your property, click Next.
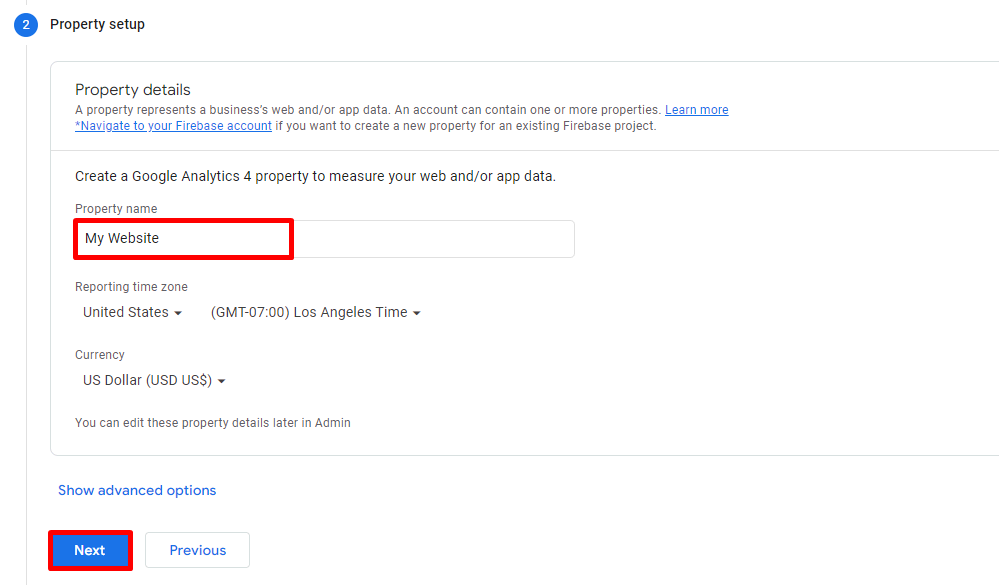
Use a name that is easy to remember since you may use multiple properties to measure your data. However, you can always edit property details and create new properties by navigating to the Admin tab -> Property column on your Google Analytics interface.
- Lastly, provide more information about your business by selecting its industry category, size, and how you will use Google Analytics 4 for your needs.
- Then, click Create to finalize your Google Analytics account setting.
- A Terms of Service Agreement window will pop up. Choose your country and region from the drop-down list and read the terms before ticking the GDPR term. Click I Accept to finish the account setup.
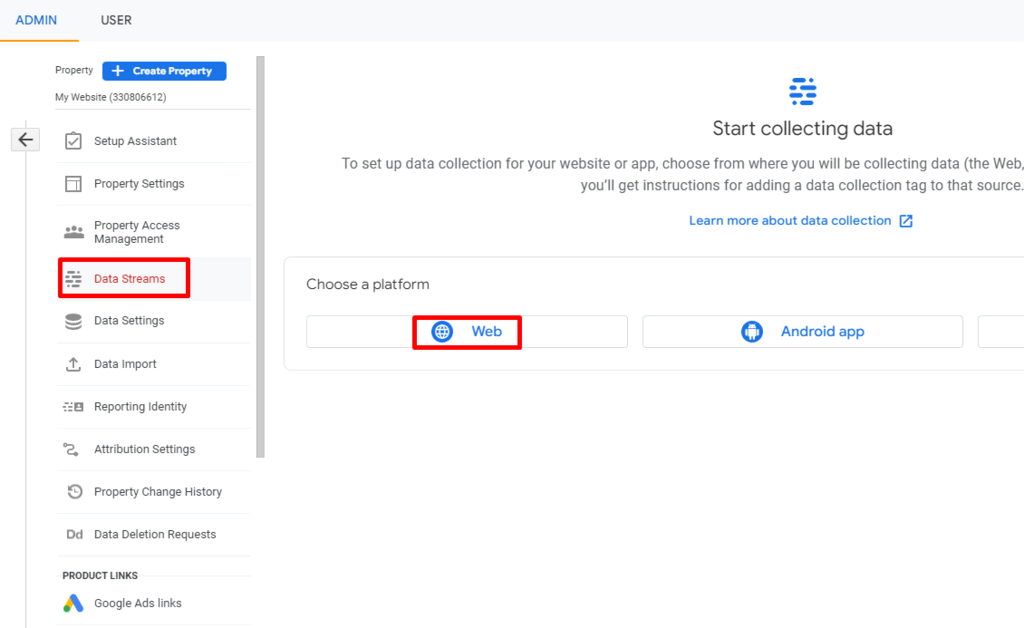
- Navigate to your dashboard and click the Admin tab. Then, choose Data Streams under Property. Choose Web to enable data collection for your site.
- Enter your website URL and create a stream name. Then, click Create stream.
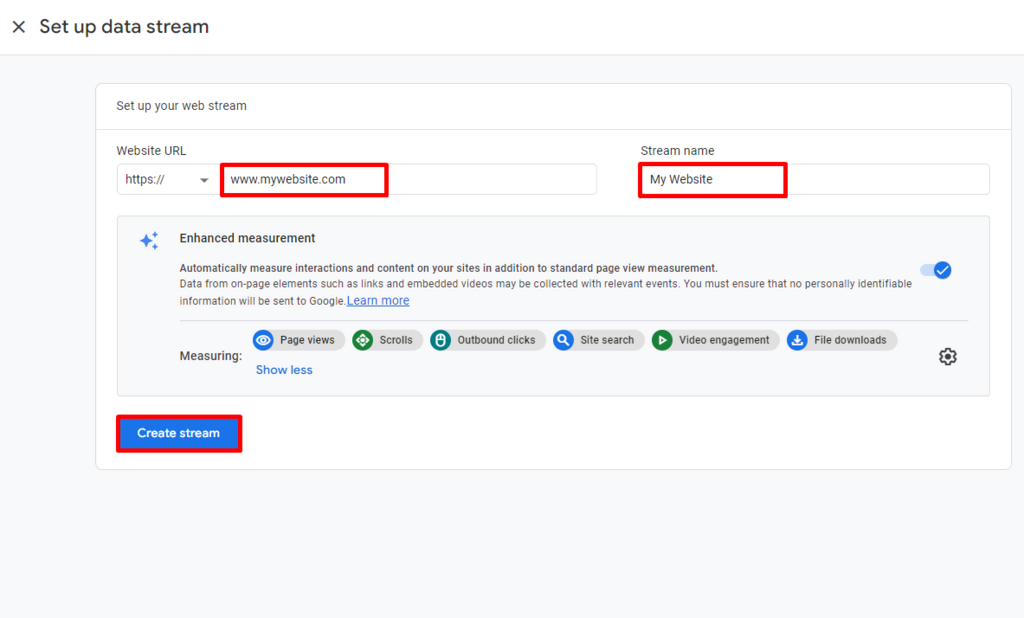
- Once you’ve set up a web data stream for data collection usage, you will find it under the Data Streams section. Feel free to add more data streams if you want to enable tracking on multiple platforms.
The steps to set up a Google Analytics account are complete. Now, follow the guidelines below to create a Google Tag Manager account.
- Go to the Google Tag Manager homepage. Log in with your Google account, and proceed to the Account Setup. Enter your business name and choose the country you operate in.
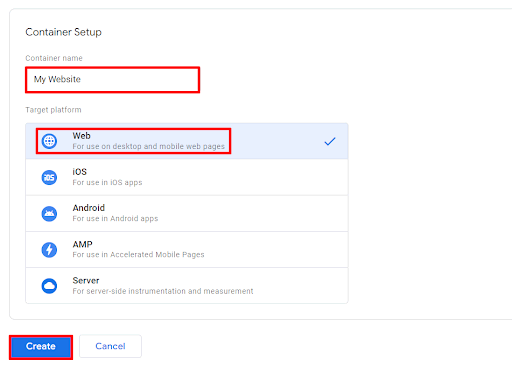
- On Container Setup, create a container name and choose your target platform. For example, enter your website name and click on Web if you want to measure your site. Then, click Create.
- The Google Tag Manager Terms of Service Agreement will show. Tick on the GDPR condition, then click Yes.
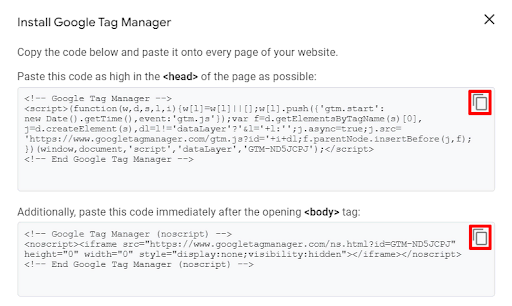
- You will see the code snippets to paste on the <head> and <body> tags on your website. As an example, we will show you how to add these code snippets to a WordPress website.
Simply click the copy icon on each tracking code and head to your WordPress admin page.
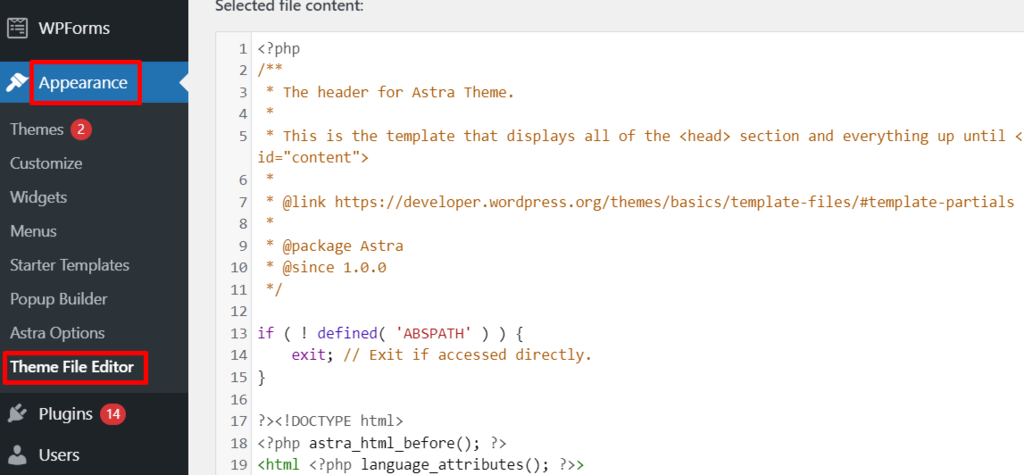
- On your sidebar, click Appearance -> Theme File Editor.
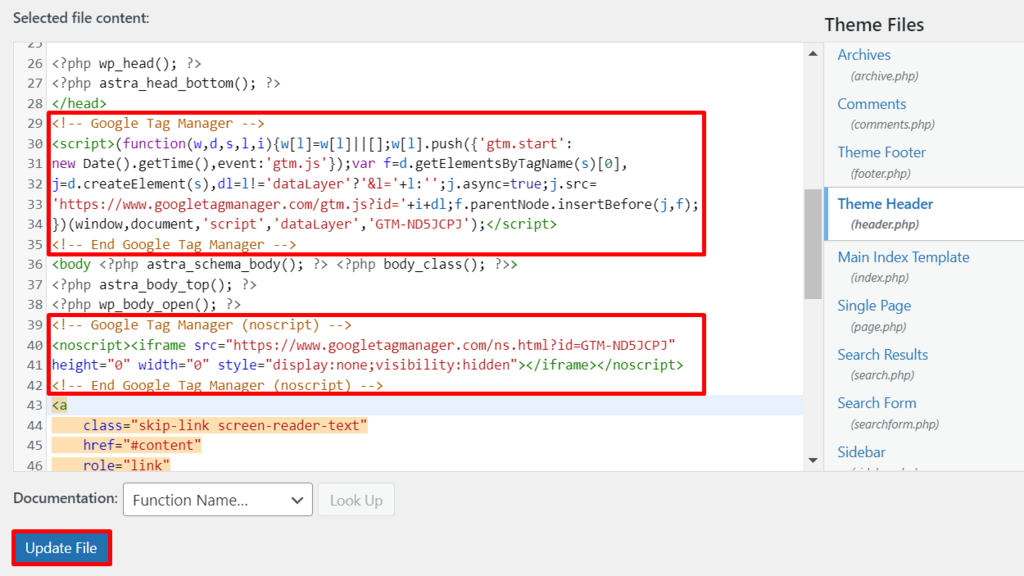
- Locate the header.php template under the Theme Files and copy the code snippets to the <head> and <body> tags.
- Once done, click Update File to save your settings.
- Navigate to your Google Tag Manager dashboard and click Add a new tag.
- Click anywhere on the Tag Configuration part to see the tag type options from Google Tag Manager.

- Choose the Google Analytics: GA4 Configuration option, and the configuration window will show up.
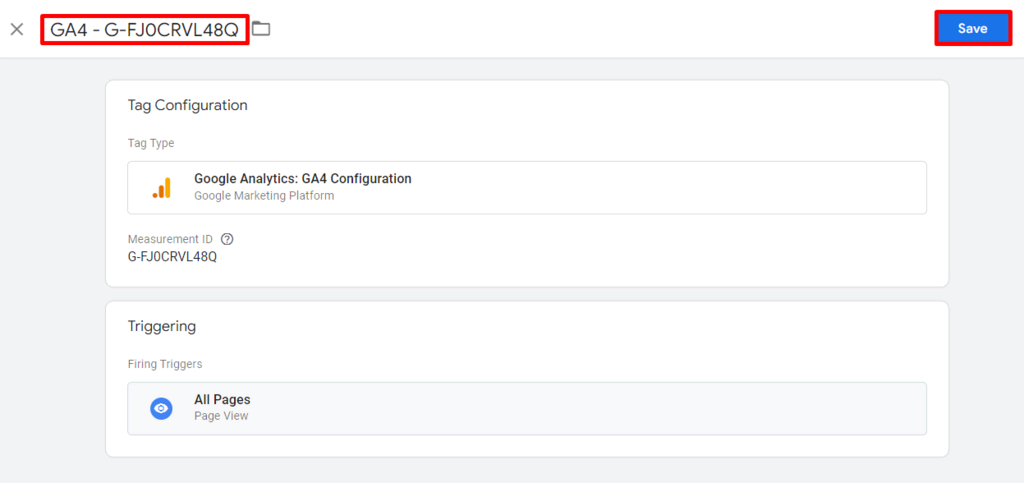
- Enter your Measurement ID on the tag configuration. You can find it in Admin -> Property -> Data Streams. Select the data stream you’ve created, and you will see your ID. Simply copy it to the Tag Configuration window.

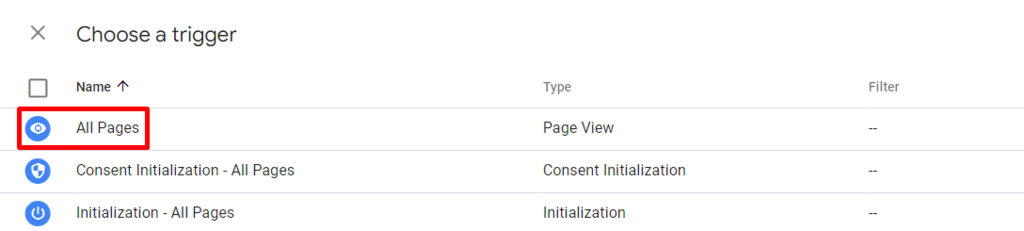
- Follow through with the Triggering setup. Click anywhere on the Triggering section to choose the triggers. In this example, we will be using All Pages.
- Create a name for the tag and click Save. As it is possible to have several containers under the same user account, name your tag with your measurement ID to help you identify each tracking tag quickly.
- Then, check if your tag is working in the Preview mode.

- Once you click on it, the Tag Assistant window will pop up. Simply enter your website URL and click Continue.
- The “Tag Assistant connected” message will show up in a new window, meaning the tag installation on your website is successful. Click Finish, then click Continue to close the preview mode.
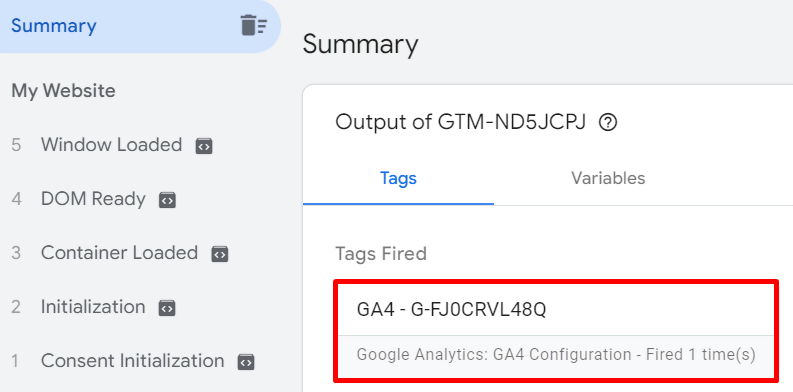
- You will see some stats on the Summary page. In this example, the tag has fired successfully.
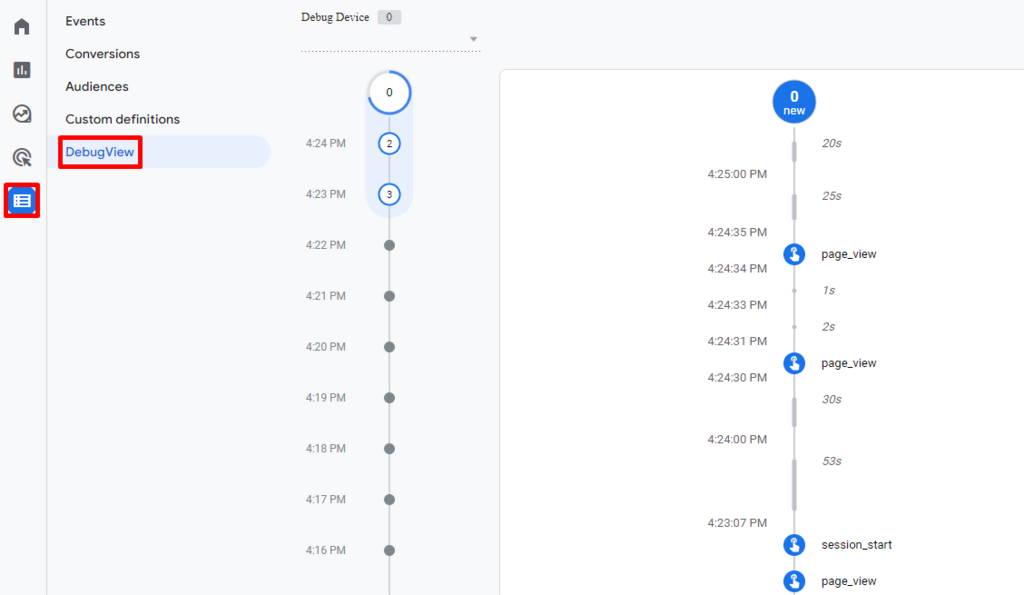
- Then, use DebugView to ensure Google Analytics 4 collects the data. To do so, navigate to your Google Analytics dashboard and click on Configure -> DebugView on your sidebar. You will see this data with the event name, time, and duration details.
- After ensuring the data collection worked with DebugView, go back to your Google Tag Manager dashboard and click Submit.

- Create a Version Name and click Publish to finalize the tracking setup.

Method 2. Configure Google Analytics 4 With Setup Assistant
The GA4 Setup Assistant makes the configuration process for existing Google Analytics account owners more straightforward.
This is because you can create a new GA4 property without changing your Universal Analytics account. Then, your existing property will keep collecting data on your website together with your new GA4 property.
To do so, follow these steps:
- On your Google Analytics dashboard, navigate to Admin. Choose your desired account and select the Universal Analytics property you want to migrate from the dropdown menu. Then, click the GA4 Setup Assistant.
- You will see an option to create a GA4 property that mirrors your existing Universal Analytics property. Click Get started.

- Once the GA4 property setup is complete, you will see your property and data stream details.
Now you can add a new tag to start tracking your website. How to do so, we’ve explained in the previous method.